
A lot of our customers call us to ask about setting up their first pro/semi-professional podcast studio. Many of them have recorded podcasts using their phone or a basic USB microphone into a computer which worked fine for the time being. But there comes a time when it's time to upgrade. In this article, we will walk you through our most common recommendations and solutions for serious podcasters. Everyone's situation will vary, so it's impossible for us to list every upgrade. But This article should lay out the foundation of a professional setup.
Audio Interface
An audio interface is the heart of any studio. It controls all of the inputs and outputs and is the central hub for audio quality control. When looking for an audio interface, it's best to know how many inputs you need, what kind of gain you need (this is microphone dependent), and the number of headphone outputs necessary. If you plan on using outboard gear, it might be good to look for insert points as well.  The Audient iD44 (pictured above) is essentially the ultimate audio interface in terms of podcasting for many reasons. For starters, it has 4 extraordinary microphone preamps for you and your guests. In fact, they are the same preamps that Audient uses in their high-end mixing consoles. They rock 60dB of low-noise gain and are equipped with some of the best Burr Brown converters available. On the first two mic preamps, there are balanced insert points for use of outboard gear like compressors, EQ's and gates. There are two headphone outputs for independent headphone mixes. This is a piece that can be a permanent install as well as a mobile solution so you can record your podcast ideas anywhere.
Microphones
Microphones are where great sound starts in a podcasting environment. Some people use condenser microphones and end up getting lots of room sound. In order to fix this, they spend lots of money on room treatment. Treating your room is great, but then there is no chance of being mobile. The best solution is to take the room out of the equation by using a dynamic microphone.  The standard for this application is the Shure SM7B. It has incredibly smooth sound reproduction and can take the room out of any recording. It requires a lot more gain than most microphones, so you'll need to check the specs on your audio interface. A good alternative is the Audio-Technica BP-40 as it requires less gain.
Headphones
Depending on how you have been doing podcasting thus far, headphones may or may not be on the short list. It is very important to monitor yourself and any guests while recording. If each person has a set of headphones to hear themselves, they will speak more clearly, stay more consistent in regards to positioning on the microphone, and also hear if any problems arise such as signal cutting out. 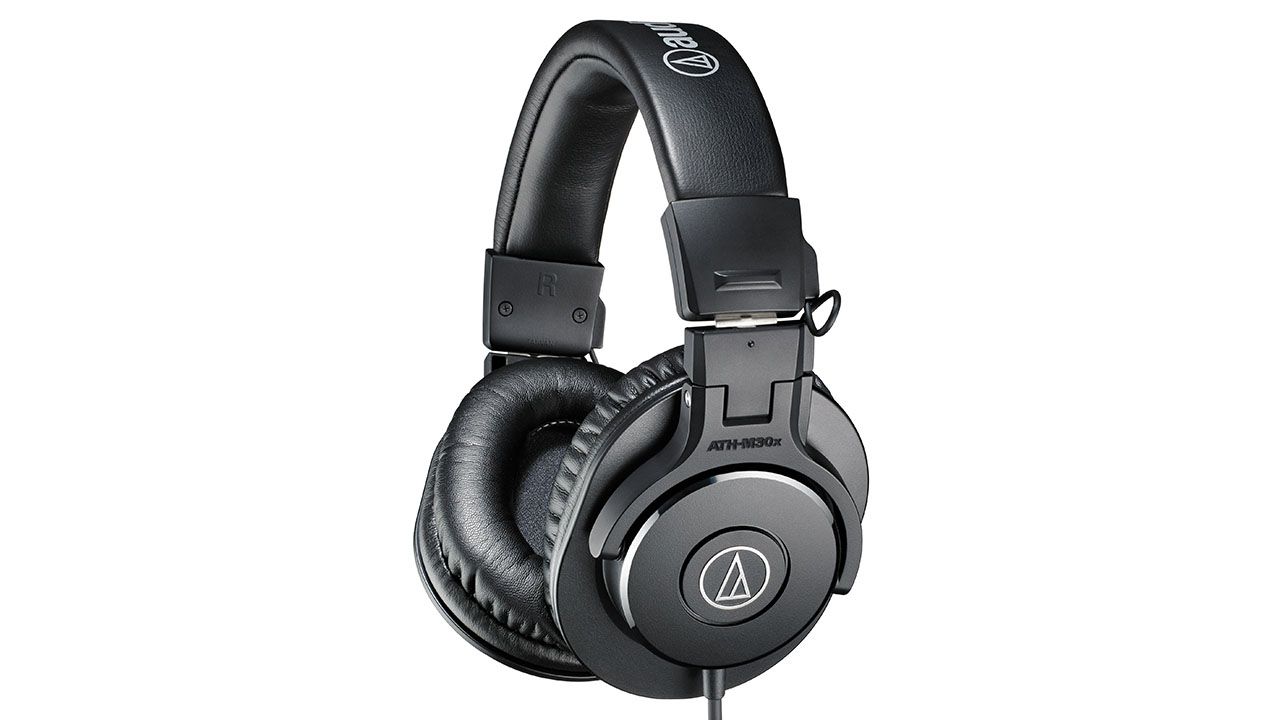 One of our favorites is the Audio-Technica ATH-M30x headphones. They are comfortable and have a very flat frequency response and work well on many different headphone amps. ATH-M30x's go for only $69 and are a great life-long investment into a pro podcast studio.
Cables
They are not exactly a flashy upgrade, but cables can actually make a bigger difference than most people think. Cheap cables are less consistent, don't have a wide frequency response and can even pickup radio interference. When you are starting out, expensive cables are not going to be your best investment. A better microphone will make a much bigger difference. But when you have all the gear above, great cabling is the next step.  Mogami Gold is the cable of choice for industry professionals because of the incredible frequency response and durability of the line. These cables are definitely an investment, but are well worth it if you are making the step into professional podcasting.
Headphone Amp
Extra headphone amps are a peripheral that may be necessary if the amount of headphone outputs on your audio interface is less than the amount of people on your podcast. These however, are not a massive investment and can prove to be very useful.  One that we recommend is this On-Stage HA4000 for a few reasons. For one, it only costs $29.95 and it adds 4 headphone outputs. It is also a small profile box and will fit easily on any desk or mobile setup.
Outboard Gear
This is the fun stuff. The kind of studios that are using outboard gear for podcasting typically have everything else in place first. The most common types of rack gear used in podcasting are compressors. When doing broadcasting, it is best to use multiple stages of light compression. This will allow each compressor to work just a little bit to level out the dynamics but still sound natural. The reason behind compressing so much is so that your listeners have a consistent and loud enough volume to listen to. No one wants to crank their speakers for your podcast and then forget about it when they turn on the radio next.  The Holy Grail of broadcasting compressors is this Aphex Compellor 320D. The Compellor is the most transparent compressor any of us have ever heard (or haven't heard). It can be doing 20dB of gain reduction without a artifacts. Many engineers use it to freeze their meters in a very natural way for the most consistent level possible during mastering. The Aphex Compellor 320D is available for special order for a cool $1,349. We hope this list helps when making the transition into professional podcasting. Every situation is different, so if this doesn't exactly fit what you need, give us a call and we can help you out!
Contact us anytime - we are happy to help you find the best solution for your needs.